
The Perfumer's Studio Part 2: Self-Combusting Incense

Each morning, I waited outside the bougainvillea-covered back gate to Persephenie’s Fairfax Avenue studio. After she buzzed me in, we had tea and snacks while she discussed and burned a sample of the kind of incense we would make that day. Half of the first day was taken up with burning a variety of incense ingredients one by one on a Japanese charcoal. While some were already familiar to me, it was exciting to try several that were new not only to me, but to Persephenie herself. A friend had gifted her with a bunch of resins purchased in Italy, so we sizzled several of those on a charcoal, waving our hands through the smoke as we fanned the scent and tried to put its effect into words. After breaking for lunch, we made incense.
The first day was dedicated to self-combusting incense, which is the most familiar type of incense to Americans: cones and sticks made out of an incense dough that burns on its own once lit. So far, this was the only incense I’d taught myself to make, and the knowledge I gained this day alone was worth the entire trip. While Daddy Carl prefers gums as his binding agents, Persephenie swore by mucilaginous barks like makko, dar, and laha, which don’t carry the risk of binding too well, which can prevent incense from burning. She presented me with a ratio of binder, wood, herbs, seeds, and resins that she used and then let me loose to come up with my own combination, using a selection of ingredients from her stock. While I crushed resins and blended, she hovered nearby to offer advice.
Persephenie’s pro tips:
Once you make the dough, put it in a plastic bag with a moistened paper towel, seal, and leave in the fridge overnight. This will make the dough much more workable.
Squirt the dough with a spray bottle of water to re-moisten it as needed during shaping.
Slow your roll! Being more mindful and working more slowly and lightly gives better control when hand-shaping cones.
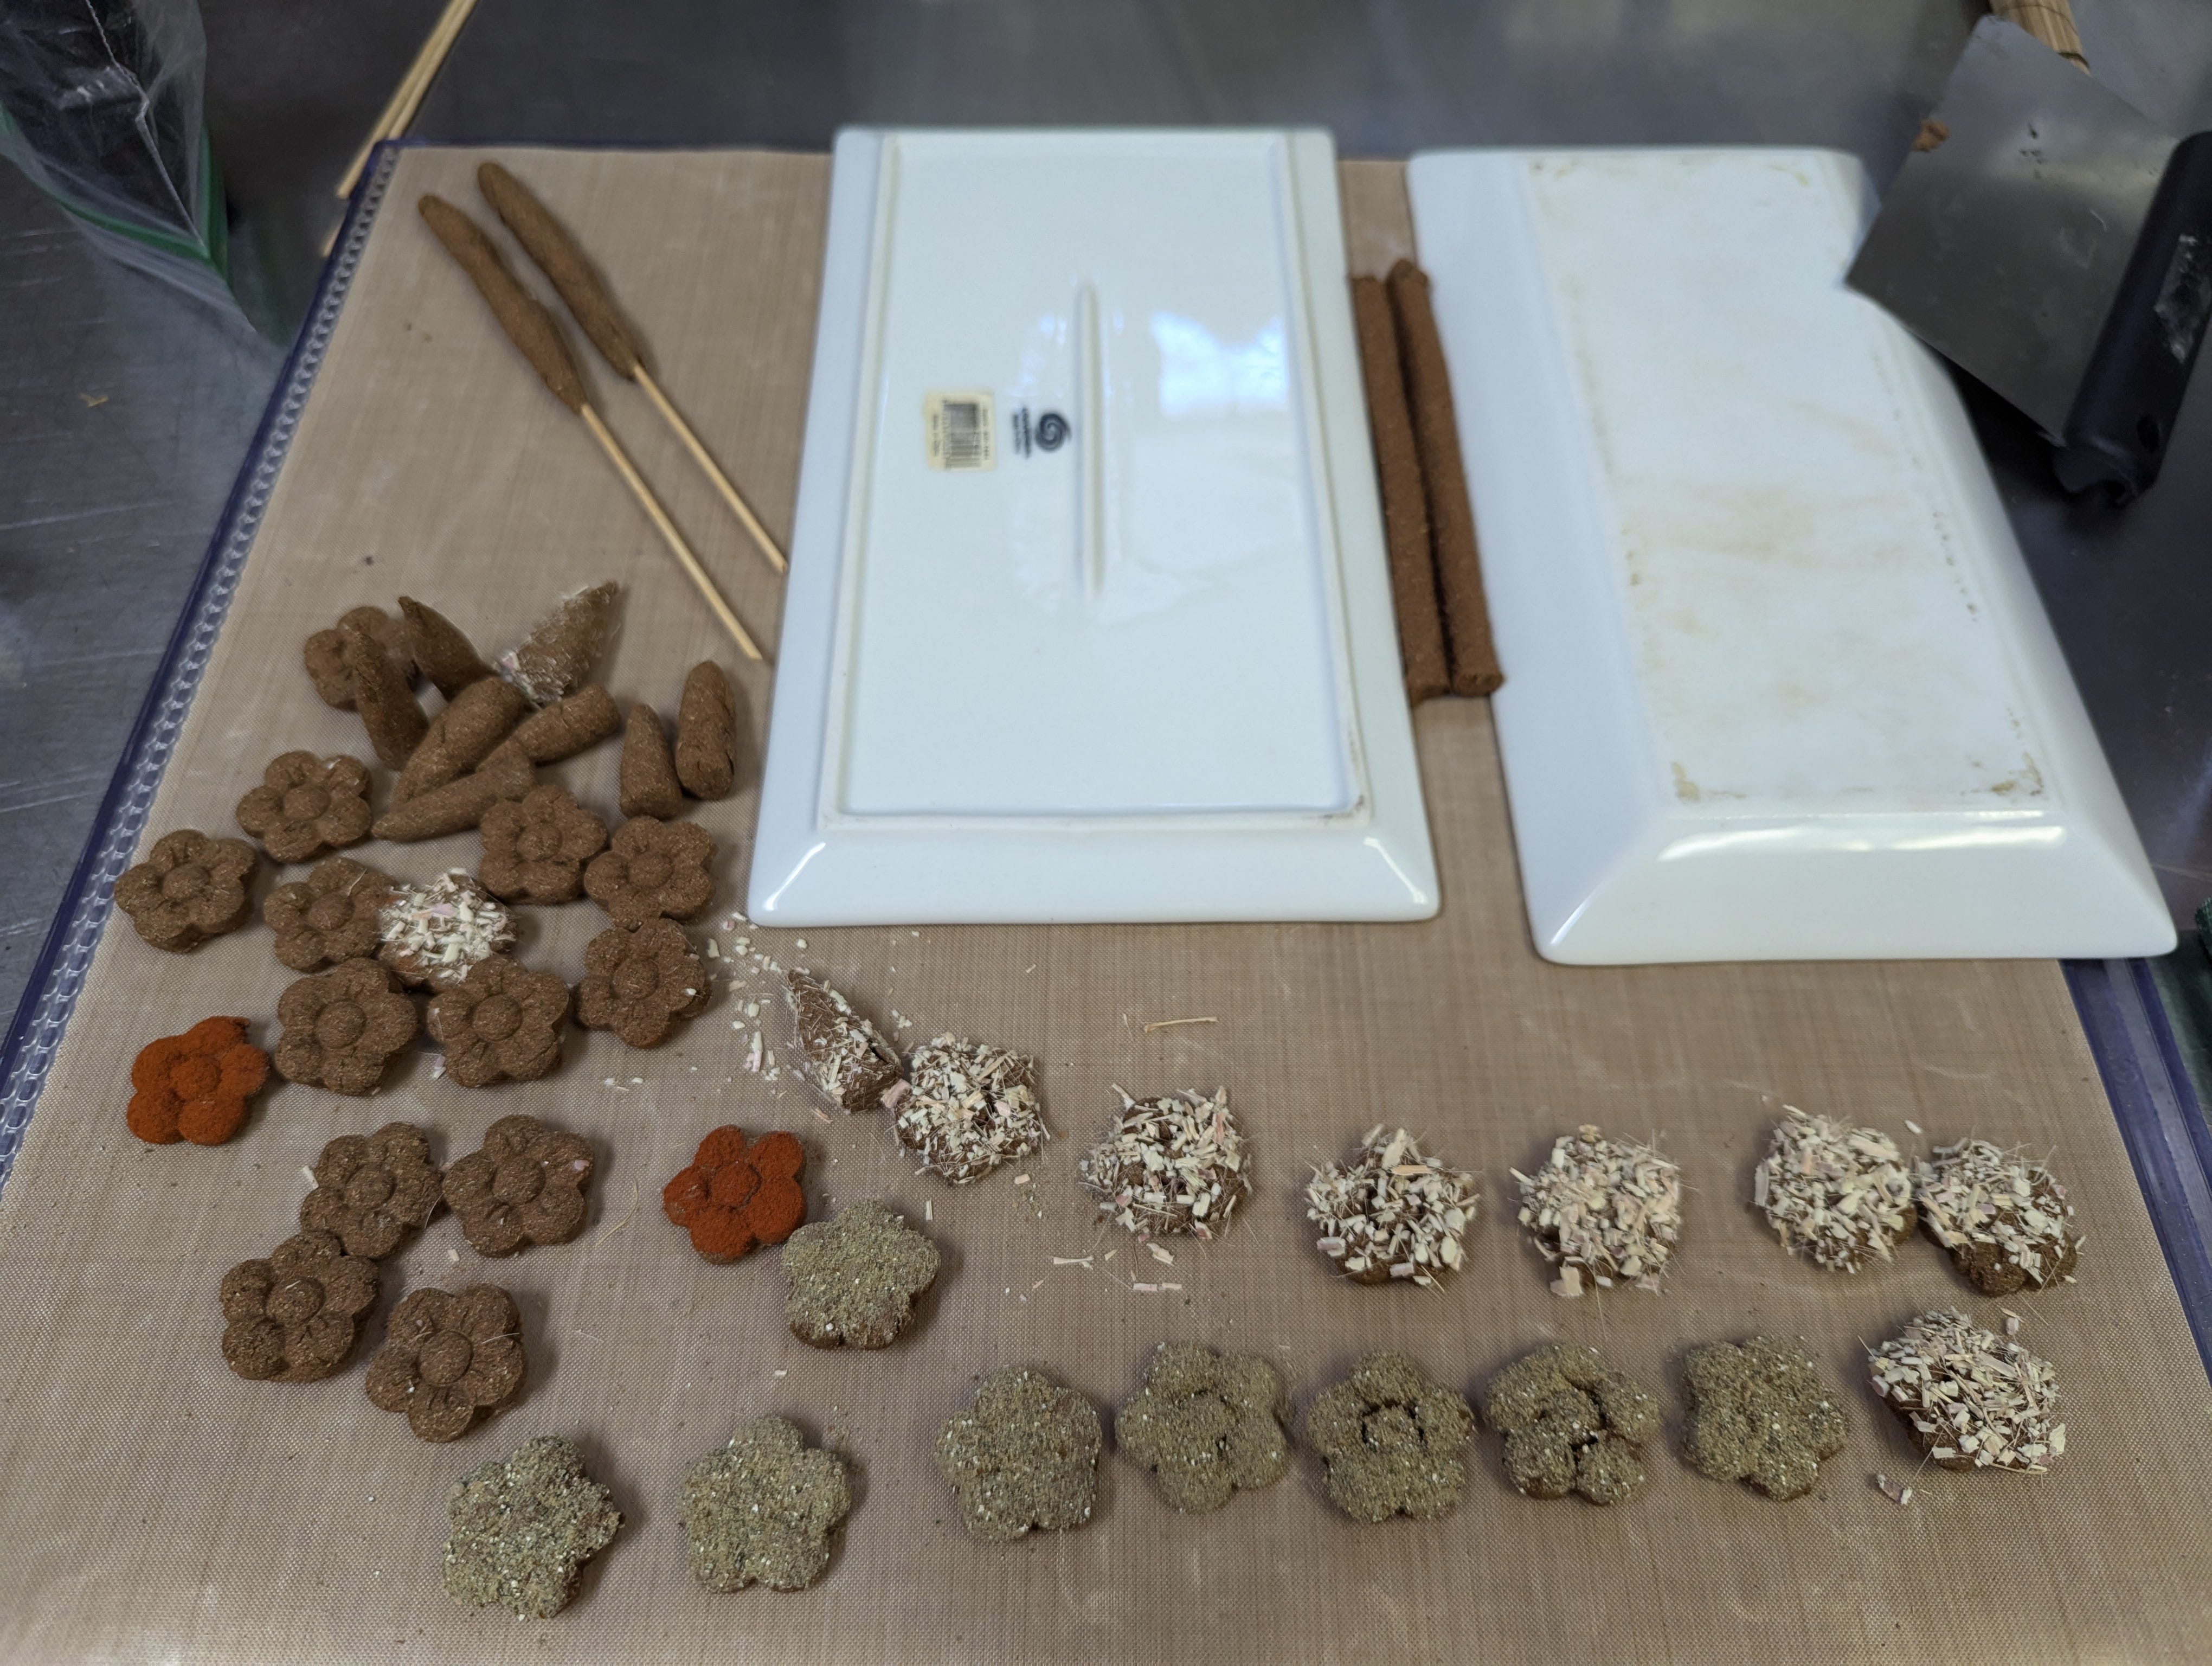
Roll or dust freshly shaped incense with herbs or a brightly-colored powdered wood, such as red sandalwood, for a pretty finish.
Dry your incense for at least 2 weeks.
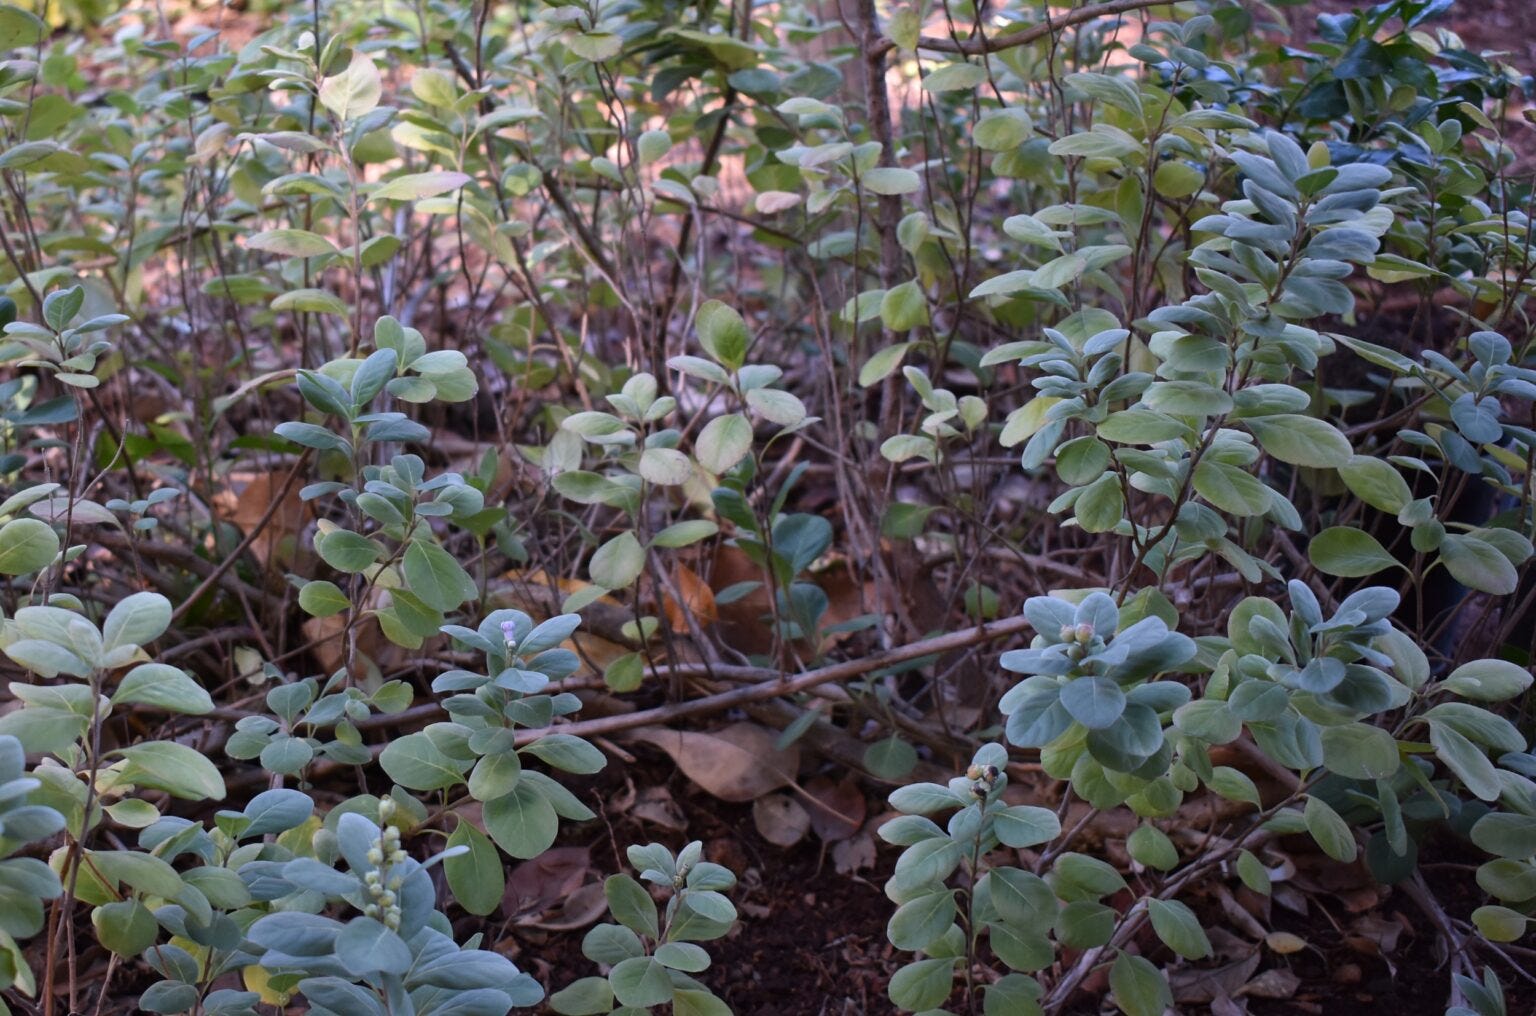
I decided upon a blend of sweet-smelling laha, Himalayan cedar, vetiver, green cardamom, camphor, and pohinahina (Vitex rotudifolia), a native Hawaiian member of the mint family that grows in my garden. This hardy creeper has round, fuzzy leaves that smell like a greener sage when fresh. I brought a few ounces of dried pohinahina to see if it was a worthy of incense. I used it in several of the incenses I made with Persephenie.
While I did extrude two huge Tibetan-style joss sticks, (badly) rolled a couple of agarbhattis, and made a few cones, most of my experimental dough was shaped into adorable nickel-sized flowers using a silicone mold. As much as I like rolling my crooked cones, using molds was a game-changer. It made the shaping process so much faster and easier, plus it opened up a million possibilities of fun shapes to use. I’m determined to get a variety of leaf-shaped molds to play with next year.
It was so hard to wait until I got home to sample the finished product. Unfortunately, while darling, the flower shapes didn’t burn consistently, smoldering only one petal at a time. I believe this had more to do with the shape imparted by the mold than the dough itself. Apparently even a small indentation can affect the burn, so I will have to be mindful of overly-detailed molds. The scent, meanwhile, was unremarkable: not bad, but not great, either. Unsurprisingly, because of the laha and Himalayan cedar, they smelled similar to Tibetan sticks I’d tried before. I had hoped that the pinch of camphor would bring out more of the zesty quality of pohinahina, but instead it smelled musty and burnt. Oh well. It was a successful experiment in learning, and with Persephenie’s guidelines, I feel confident enough to play around with mixing my own blends.