
A Beginner’s Guide to Burning Incense

I love incense so much that I want to share its wonders with my close friends and family this holiday season. Thus I gave several of my loved ones an Introduction to Incense Kit, which includes:
A selection of handmade bakhoor, pom, and incense cones made by yours truly
A brass censer
A roll of self-starting charcoal disks
These and a few common household tools are all anyone needs to burn almost any kind of incense. The following are instructions I made for the Intro to Incense Kits, but anyone can use them to start an incense practice.
Your Censer, Set, and Setting
If you want a one-size-fits-all way to burn most kinds of incense, a bowl-shaped censer is the way to go. These censers can handle both self-combusting and non-combustible incenses. My gift pack contains a small brass censer that is 2.5 inches wide and 2.5 inches deep. The censer comes with a brass screen to hold the burning charcoal and a wooden coaster to protect surfaces from the censer’s heat.
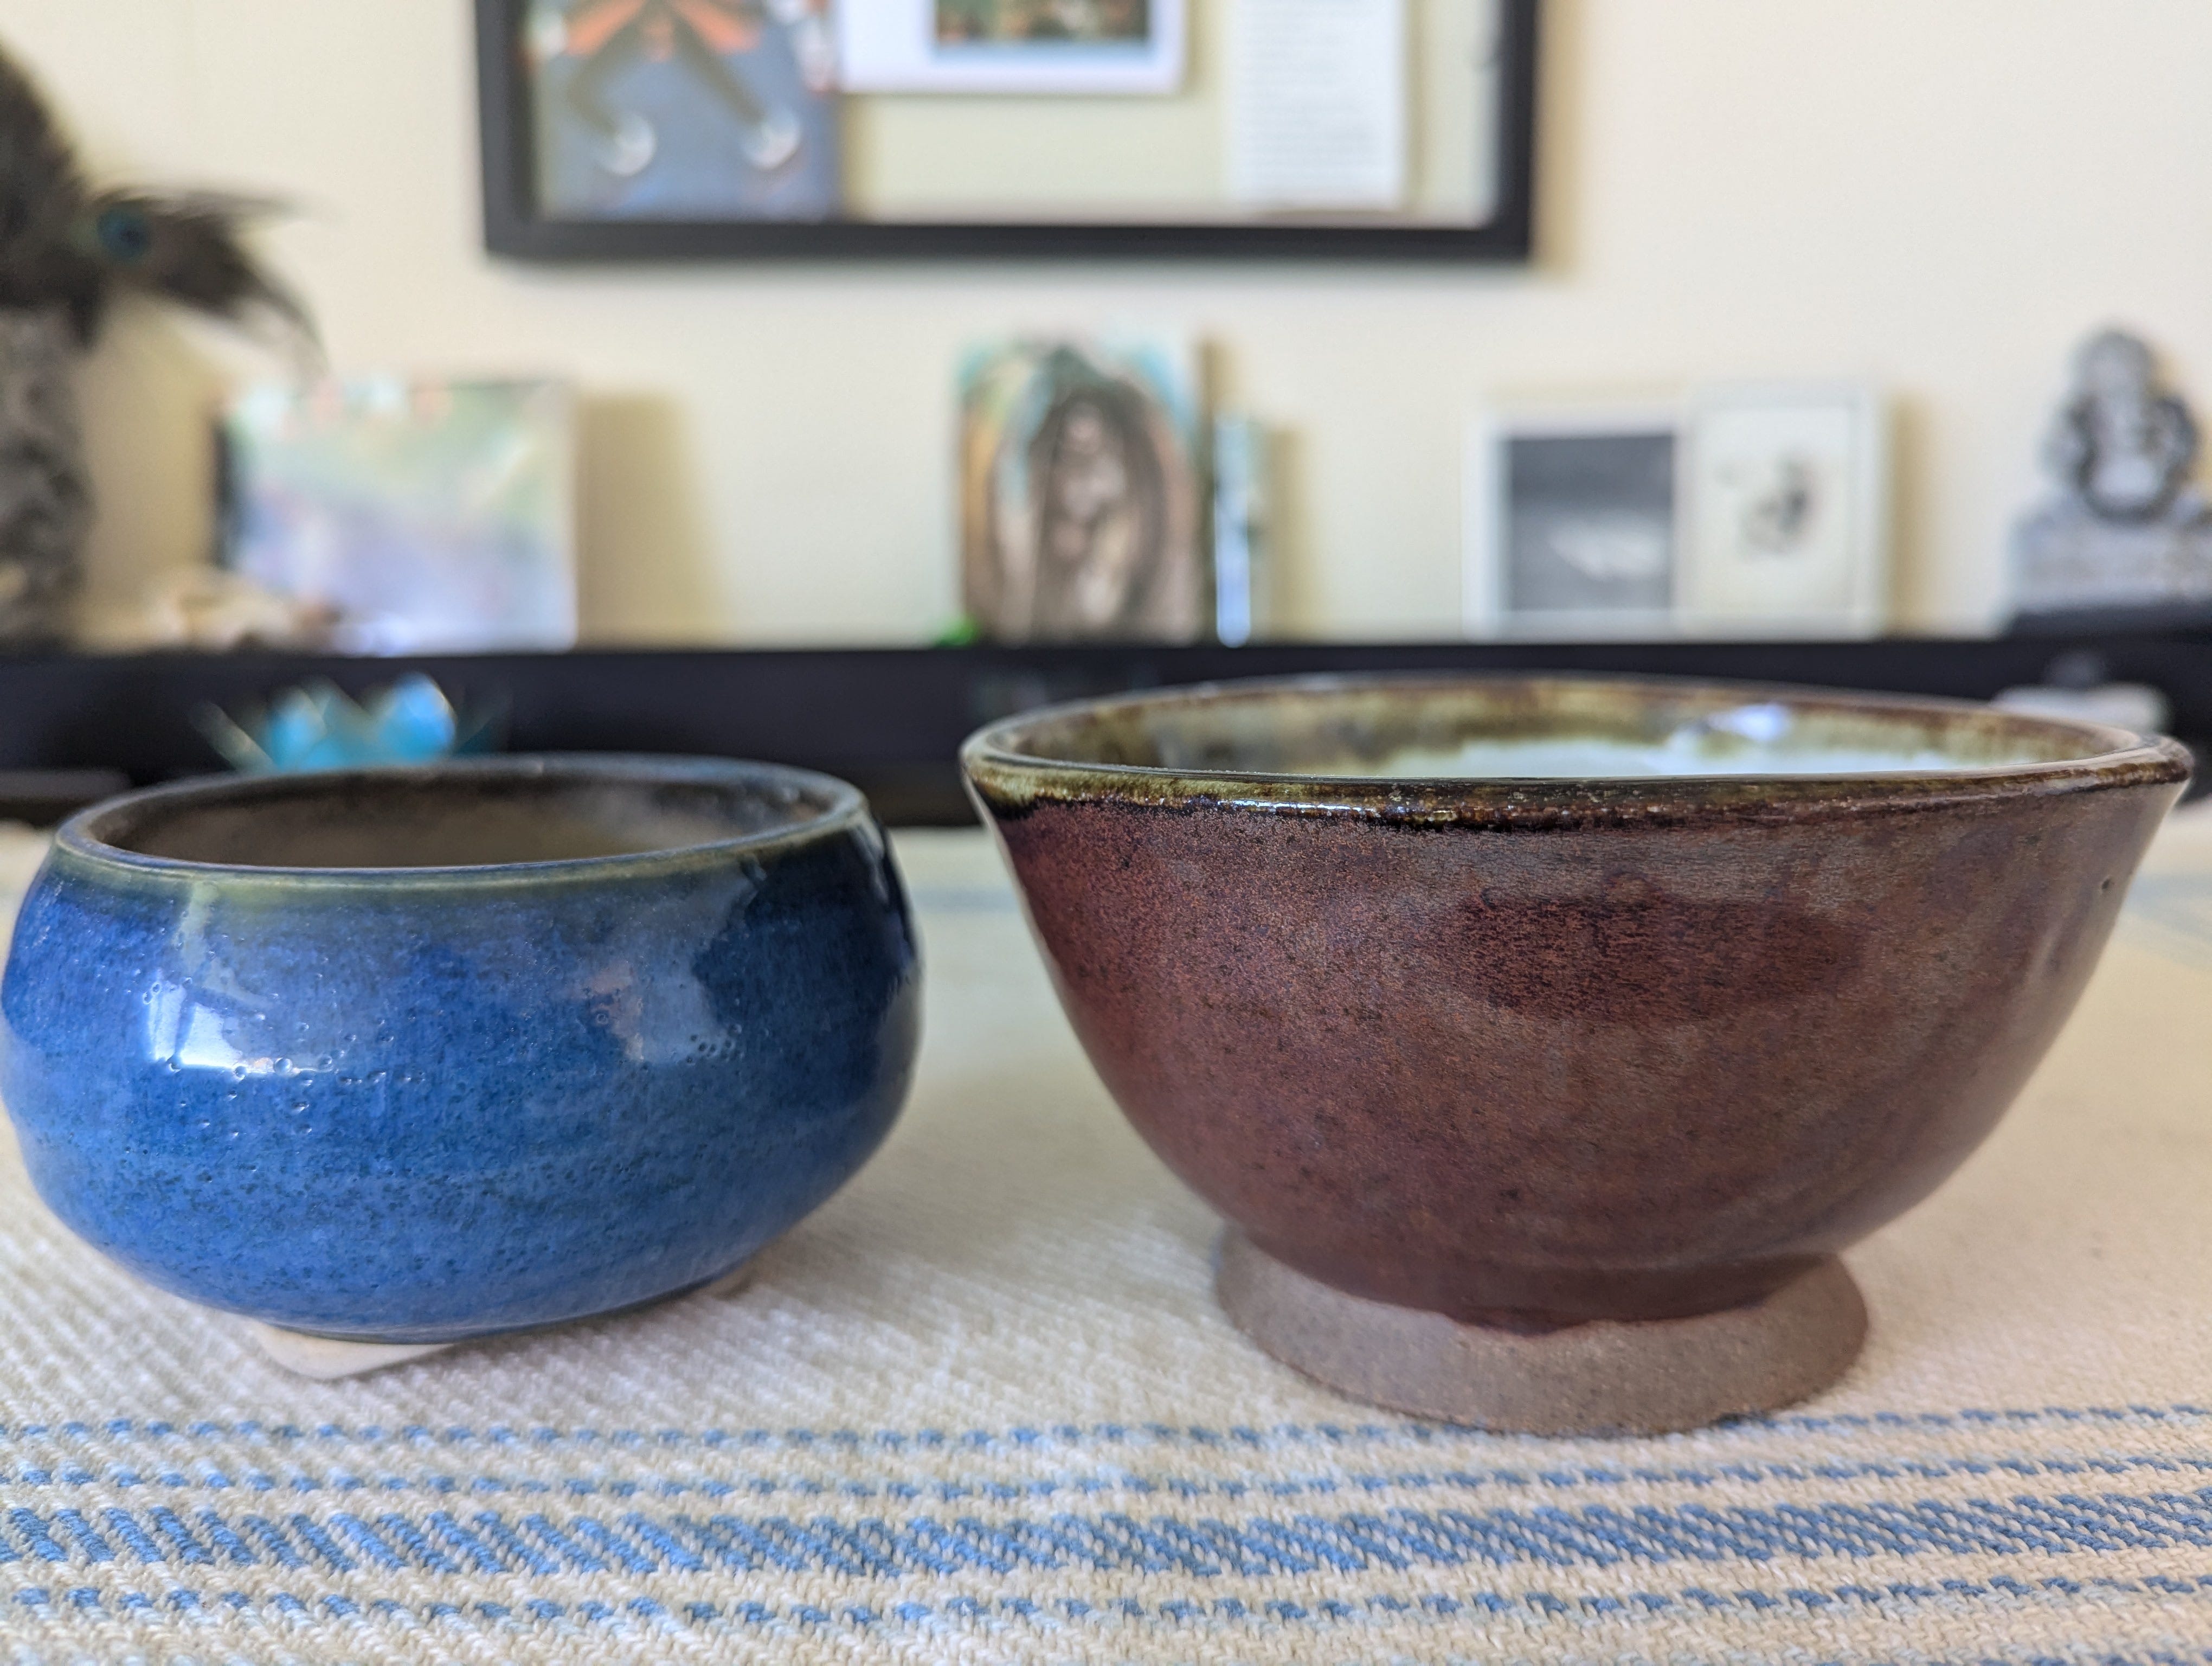
If you’re sourcing your own censer, anything smaller than 2.5’’x 2.5’’ will be too difficult to use. I prefer to use a larger censer like this ceramic one that I bought from Shoyeido, which is 2 inches tall, 4 inches wide, and stands on 3 little feet, ensuring that the hottest part of the bowl does’t touch any vulnerable surfaces. You can also use any bowl made of a heat-safe material such as metal, soapstone, basalt, or ceramic. For example, I repurposed a ceramic soup bowl into a censer.
You will want to burn your incense in a room with good ventilation. I think one of the reasons why people complain of incense smoking them out or giving them a headache is due to burning it in a room that is too close, such as a bedroom or bathroom. I myself made this mistake in my 20s, and it kept me from trying incense again for decades. It wasn’t until I moved to Hawai’i, where I can keep windows open year-round, that incense really clicked for me. I burn mine at my living room altar or in my workshop, which are both large rooms with several open windows. When I burn incense while I take a bath, I make sure to open a window and a door.
While you want good ventilation, you don’t want to blow your incense out or make an ashy mess with fans set on high or strong outdoor breezes, so make sure to place your censer in a place free from these. If you live somewhere that’s too hot, cold, or noisy to have open windows, I recommend burning incense in the largest room in your home. See how the smoke level makes you feel before burning more. If you feel too smoked out, you can burn incense outside in a place protected from the wind, such as a screened-in porch. Wherever you choose to burn incense, don’t leave anything burning unattended.
For those of you who who have health conditions that could be worsened by smoke, or who simply don’t like smoke, there are low-smoke and smokeless incense options I will discuss in another post.
Once you find a good place for your censer, observe your mindset and the reasons why you wish to burn incense. Incense has been used for thousands of years by all major world religions for a reason. There is a power in the ritual setting up of a censer. Aromas, when paired with a specific, repeated physical ritual, are a somatic signal to the brain and body that something is about to shift. The pleasures of a morning coffee or tea ritual are a good example of how millions use repeated actions and aroma to prime a shift in mindset. The handling of specific implements (teapot, mug, Mr. Coffee carafe, grinder, etc), paired with the delicious smells of brewing, presage the caffeine rush so many of us need to shift from the privacy of sleep to the alertness of life in public. Similarly, many faiths use the pause of lighting incense to signal a shift from workaday consciousness to meditation or prayer. Even if you’re not religious at all and burn incense for pleasure alone, I think it’s important to consider and wisely use the power aromas have on our unconscious minds. I burn incense while practicing yoga and breath work, during baths, while I make incense, and when I relax in my favorite chair after a day of work. Some incenses prime me to focus and study; others help me wind down. Pay attention to your feelings and mental associations as you burn incense, and you will discover what this ancient, simple, yet powerful ritual can do for you.
Charcoal, Ash, and Incense
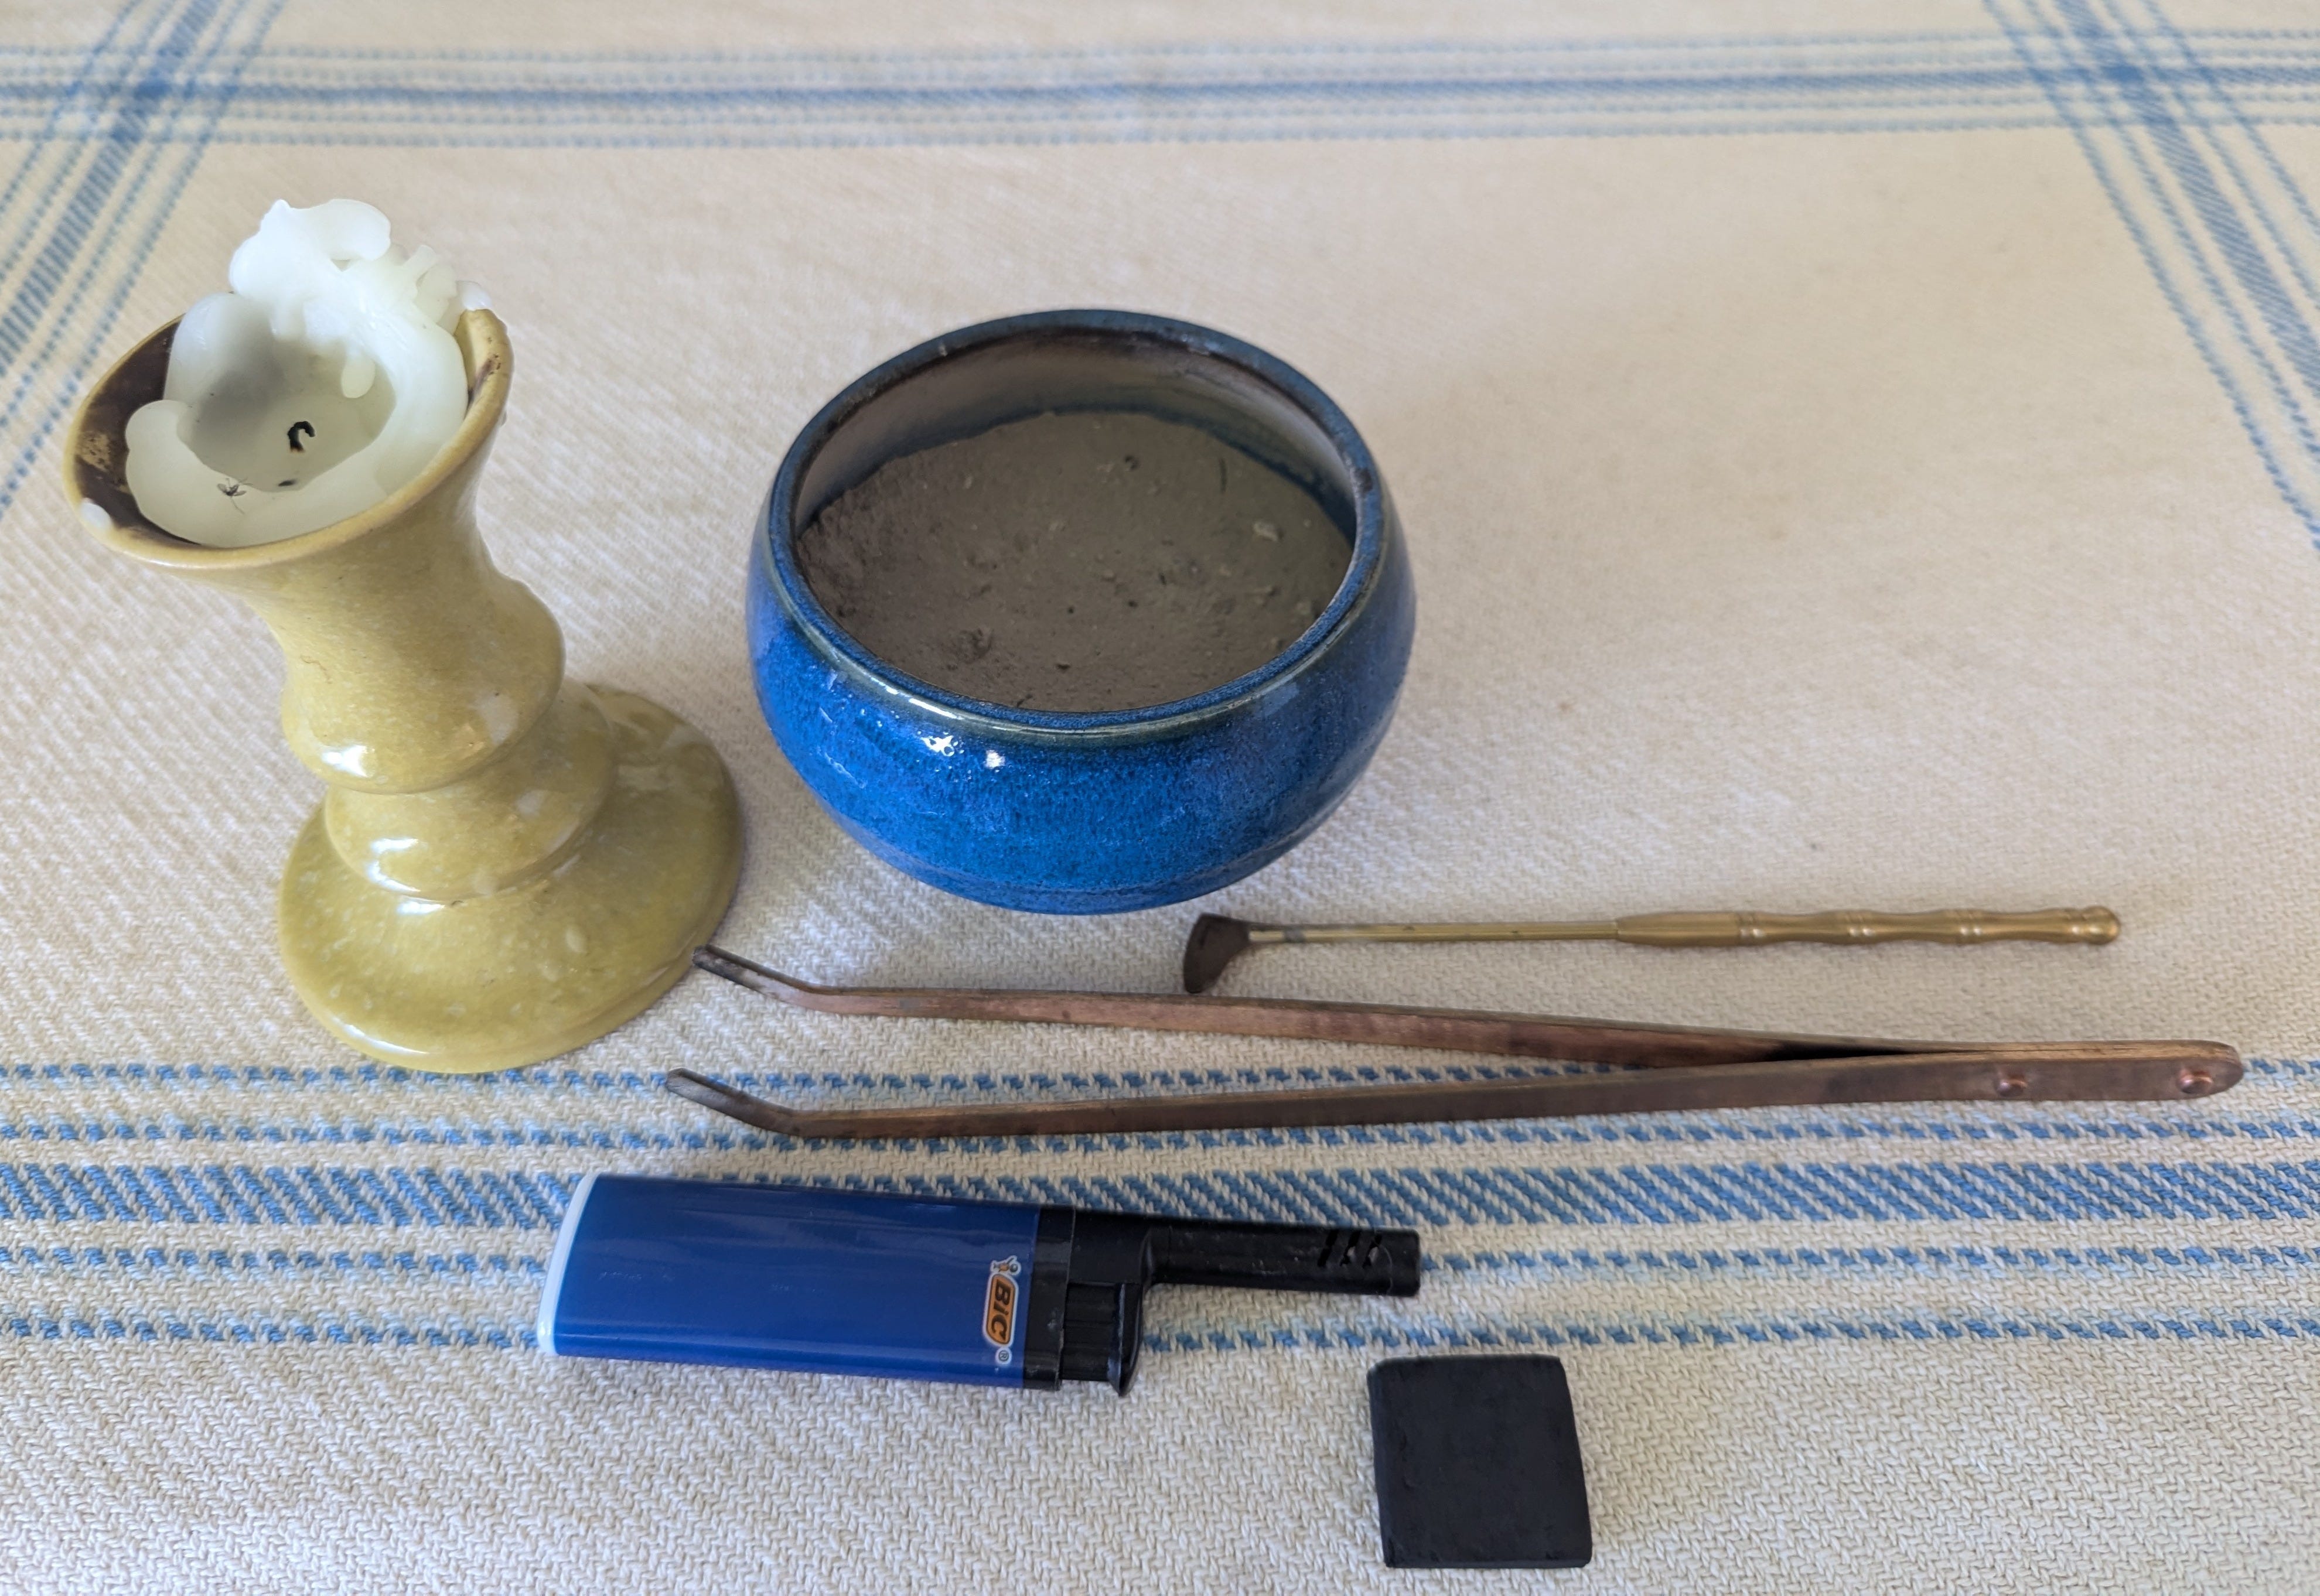
For those with my intro kits, let’s burn some non-combustible incense, such as bakhoor or pom, in your censer first, as this will be the start of a bed of ash you can later use for self-combusting incense. You will need a few tools that can be found around your home already or cheaply at any grocery store. Here’s what you will need:
A lighter or match
A candle
Some large tweezers or small tongs (I use copper pickling tongs)
A heat safe poking implement, such as metal or wooden chopsticks (metal chopsticks can also double as tweezers/tongs). I use brass tools that came with an incense seal kit.
An incense charcoal
My gift packs include a roll of 5 self-lighting incense charcoals. These are cheap and easy to light, though some may not like the smell of the combustible chemicals used in the charcoal to make it light quickly. I prefer to use Japanese charcoal. While it’s more expensive and takes a few minutes to light, Japanese charcoal burns for a longer time with very little noticeable aroma. Do not burn charcoal briquettes used for cooking barbeque in your censer, as these are too big, get too hot, and may have chemicals or wood smells you don’t want mixing with your incense.
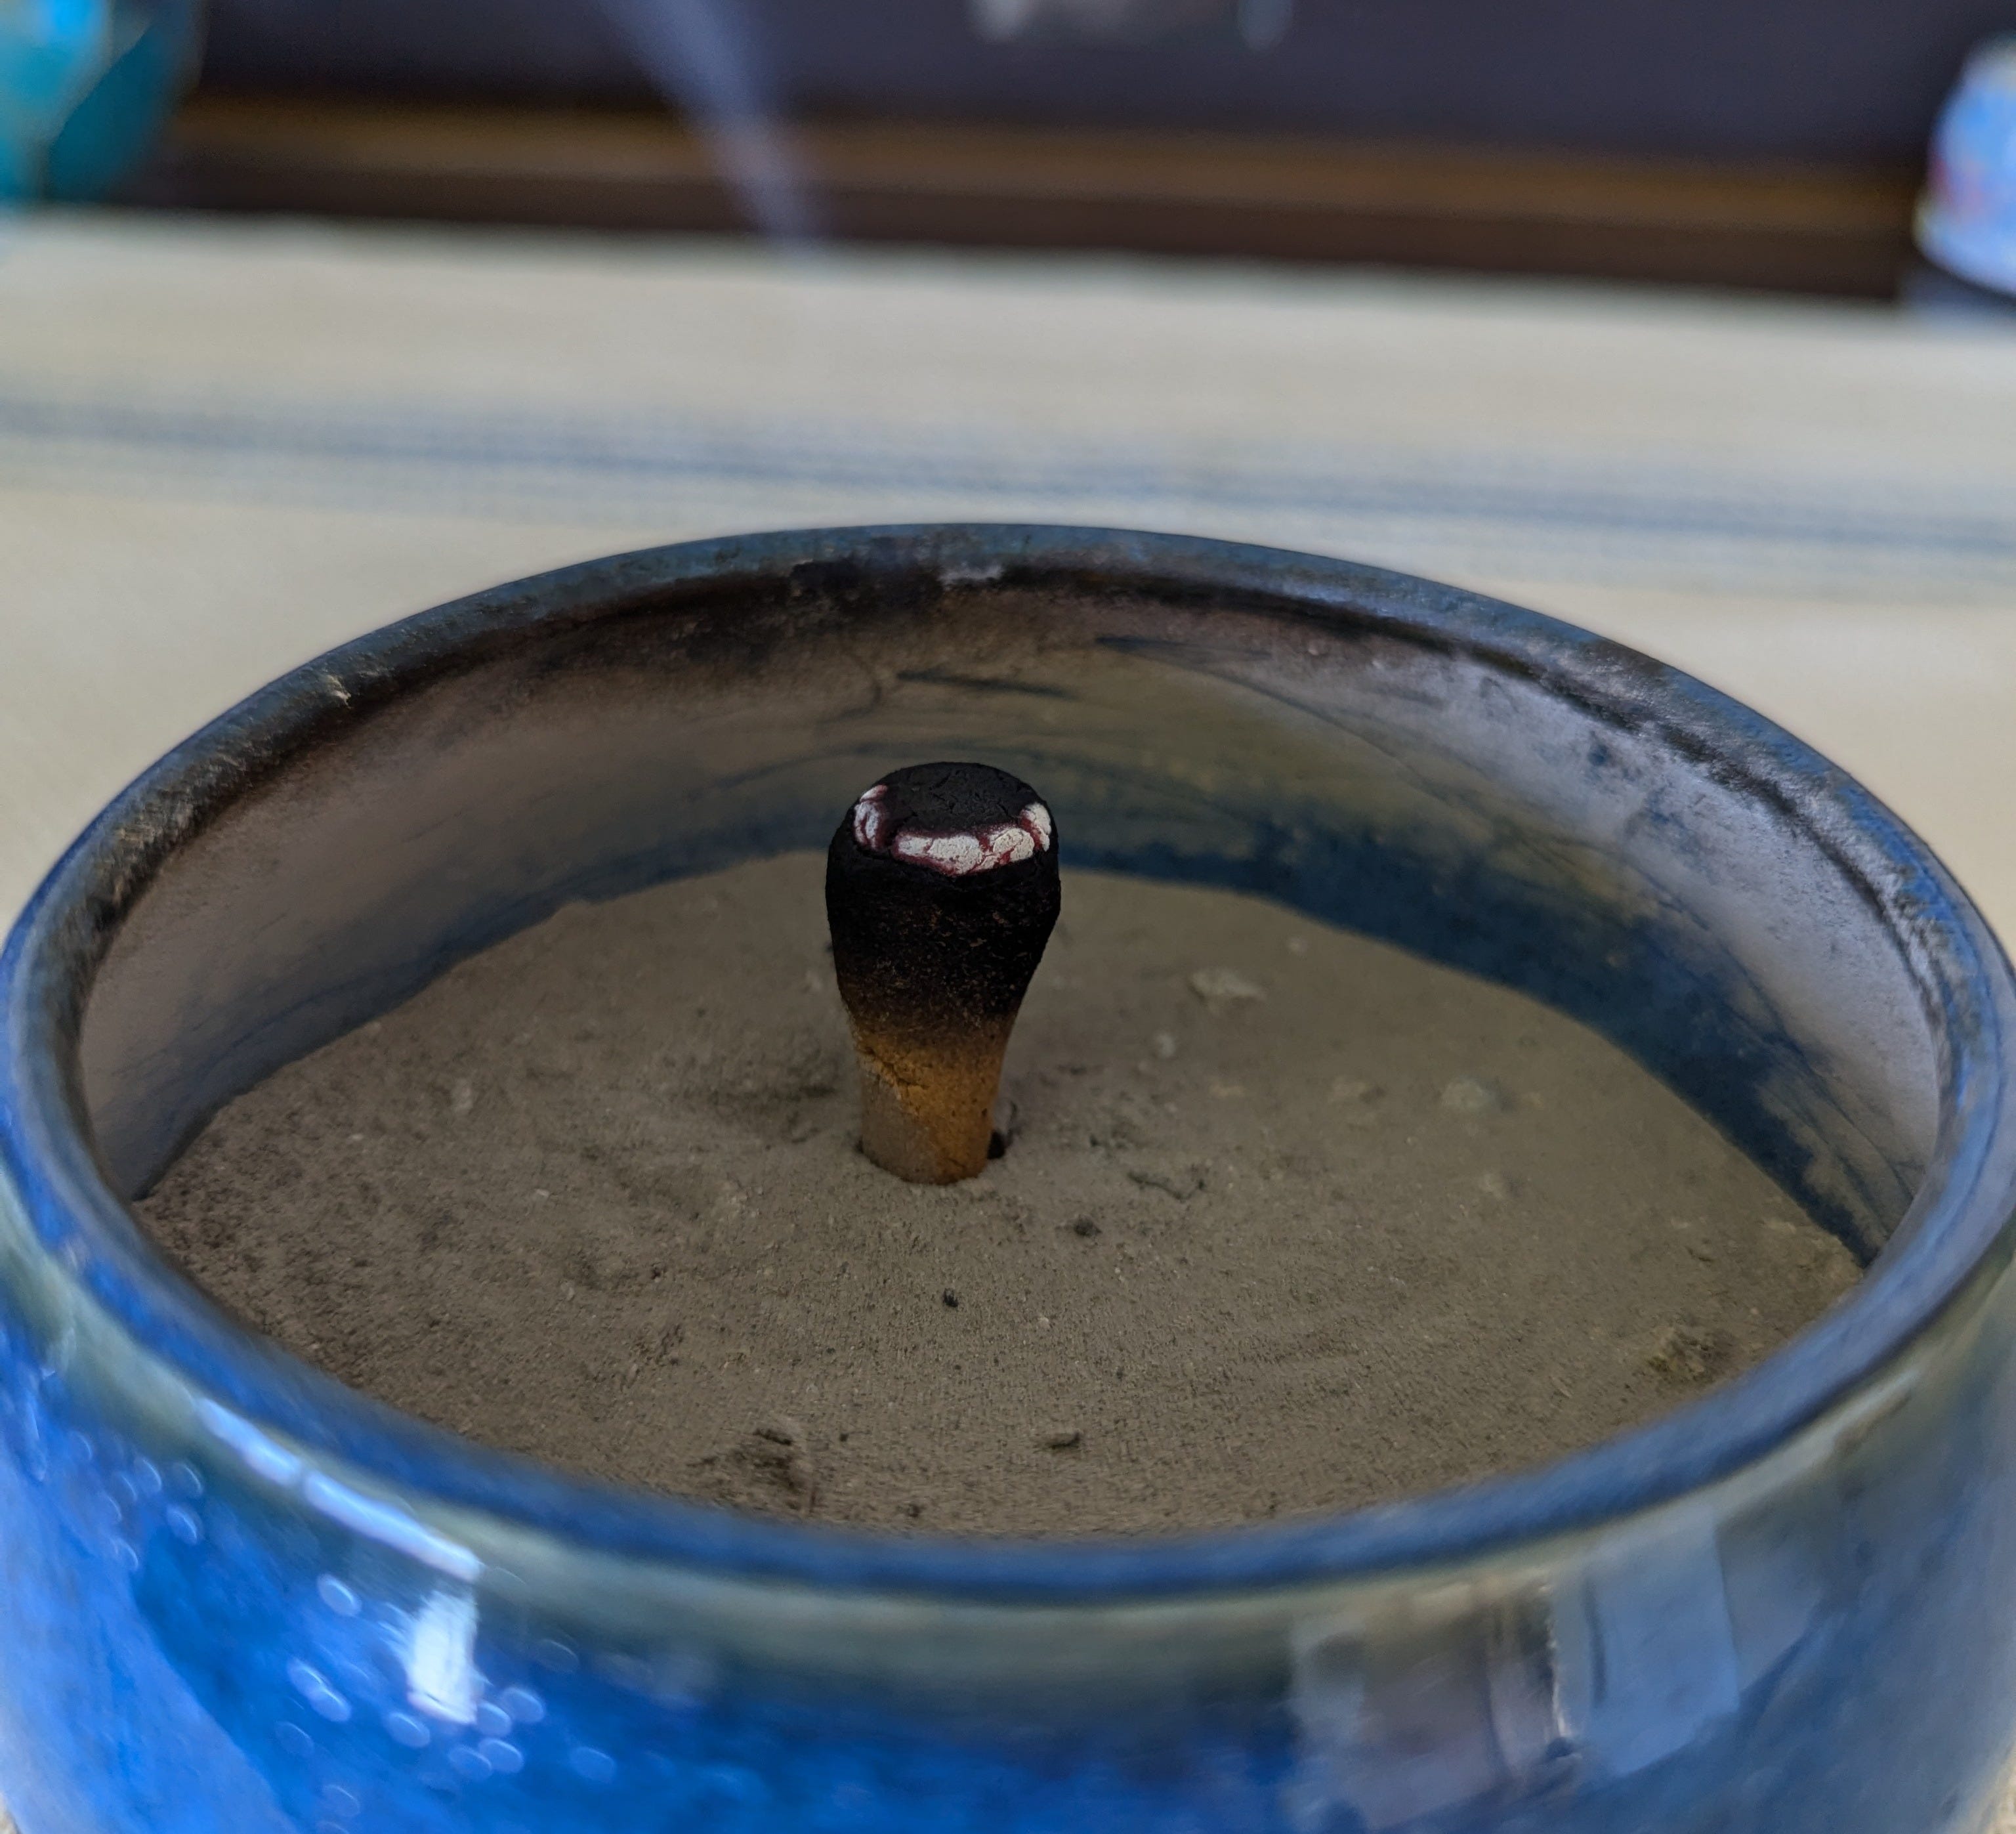
If you have a kit, make sure the brass grill is set on top of your censer. Take your lighter or match and light your candle. Hold a charcoal with tongs, chopsticks, or tweezers over the candle’s flame until small sparks crackle over the entire surface of the charcoal. (You can also skip the candle and light your charcoal directly with a lighter, but I find this wastes a lot of lighter fluid.) Place the charcoal on top of the brass grill of your censer. The open bowl of the censer will catch the ashes of the charcoal and incense as they burn. When the charcoal starts to form fine gray ash on its edges, it’s ready for some incense.
If your censer doesn’t have a grill to hold a burning charcoal, you will want to fill your censer’s bowl with 1-2 inches of ash first. (Don’t burn the charcoal on the direct surface of the censer bowl.) You can buy censer ash online, or you can use a scoop of fireplace or campfire ash, provided you filter out any unburnt chunks of wood and the ash doesn’t smell too strongly. For my kits, I recommend burning a couple coals’ worth of bakhoor or pom before burning the self-combusting cones, as this should give you enough ash without having to buy or source additional ash.
Scoop or break off a chunk of incense the size of the tip of your pinkie finger. With the chopsticks/tongs, place the incense on the charcoal. Watch it smolder, bubble, and release its aroma. You may need to grab it with the tongs and turn it to burn it all. Once the piece has burnt to a black cinder, you can burn another another piece if you wish. A little of any kind of non-combustible incense goes a long way. Don’t do what I did and use big honking chunks of a tablespoon or more on your charcoal, or you risk hurting your lungs! Your kit’s charcoal should burn for 20-30 minutes. Japanese charcoals and their embers burn for as long as an hour.
Once your charcoal burns out, take your poker and poke the coal until its ashes fall into the censer bowl. Then remove the grill with your tongs, place the grill on a heat-safe surface, and poke the ash further until it has formed an even layer at the bottom of the censer. Once the censer has cooled, you can gently rap it against the tabletop to further break up the ash. Don’t throw this ash away—you’ll use it to burn your incense cones.
Burning Incense Cones and Sticks
You don’t necessarily need a bowl censer to burn self-combusting incense sticks or cones. Commercially made boxes of agarbhatti sticks (the kind with a bamboo stick inside them) or joss sticks (stick-shaped incense sans bamboo stick) often come with a holder. Agarbhattis, such as the ever-popular Sai Baba Nag Champa, are too long and heavy to burn in an ash bed, so you’ll want to burn them in a holder specifically made for them. Below are some of the agarbhatti incense holders I use. My favorite is the sweet little elephant, which I paired with a sushi plate to catch the ash. A “coffin” style of holder does the best job of containing ash for easy cleanup. You can burn joss sticks in agarbhatti holders, too, though some joss sticks (especially Tibetan-style sticks) may be too fat for some holders. If that’s the case, something like a large, heavy glass bead can hold the joss stick on top of a plate to catch the ash.


Incense cones can be burned on any heat-safe surface. In a pinch, you can burn a cone on top of a coin or a saucer, though it will leave an unburnt stub of incense behind. The same goes for any joss stick burning in an agarbhatti holder—you’ll have a tiny stub left over after it burns out. I recently discovered that cones can burn completely on lava rocks! While this looks super cool and volcanic, I don’t recommend taking any lava rocks from Hawai’i. It’s disrespectful to Pele.
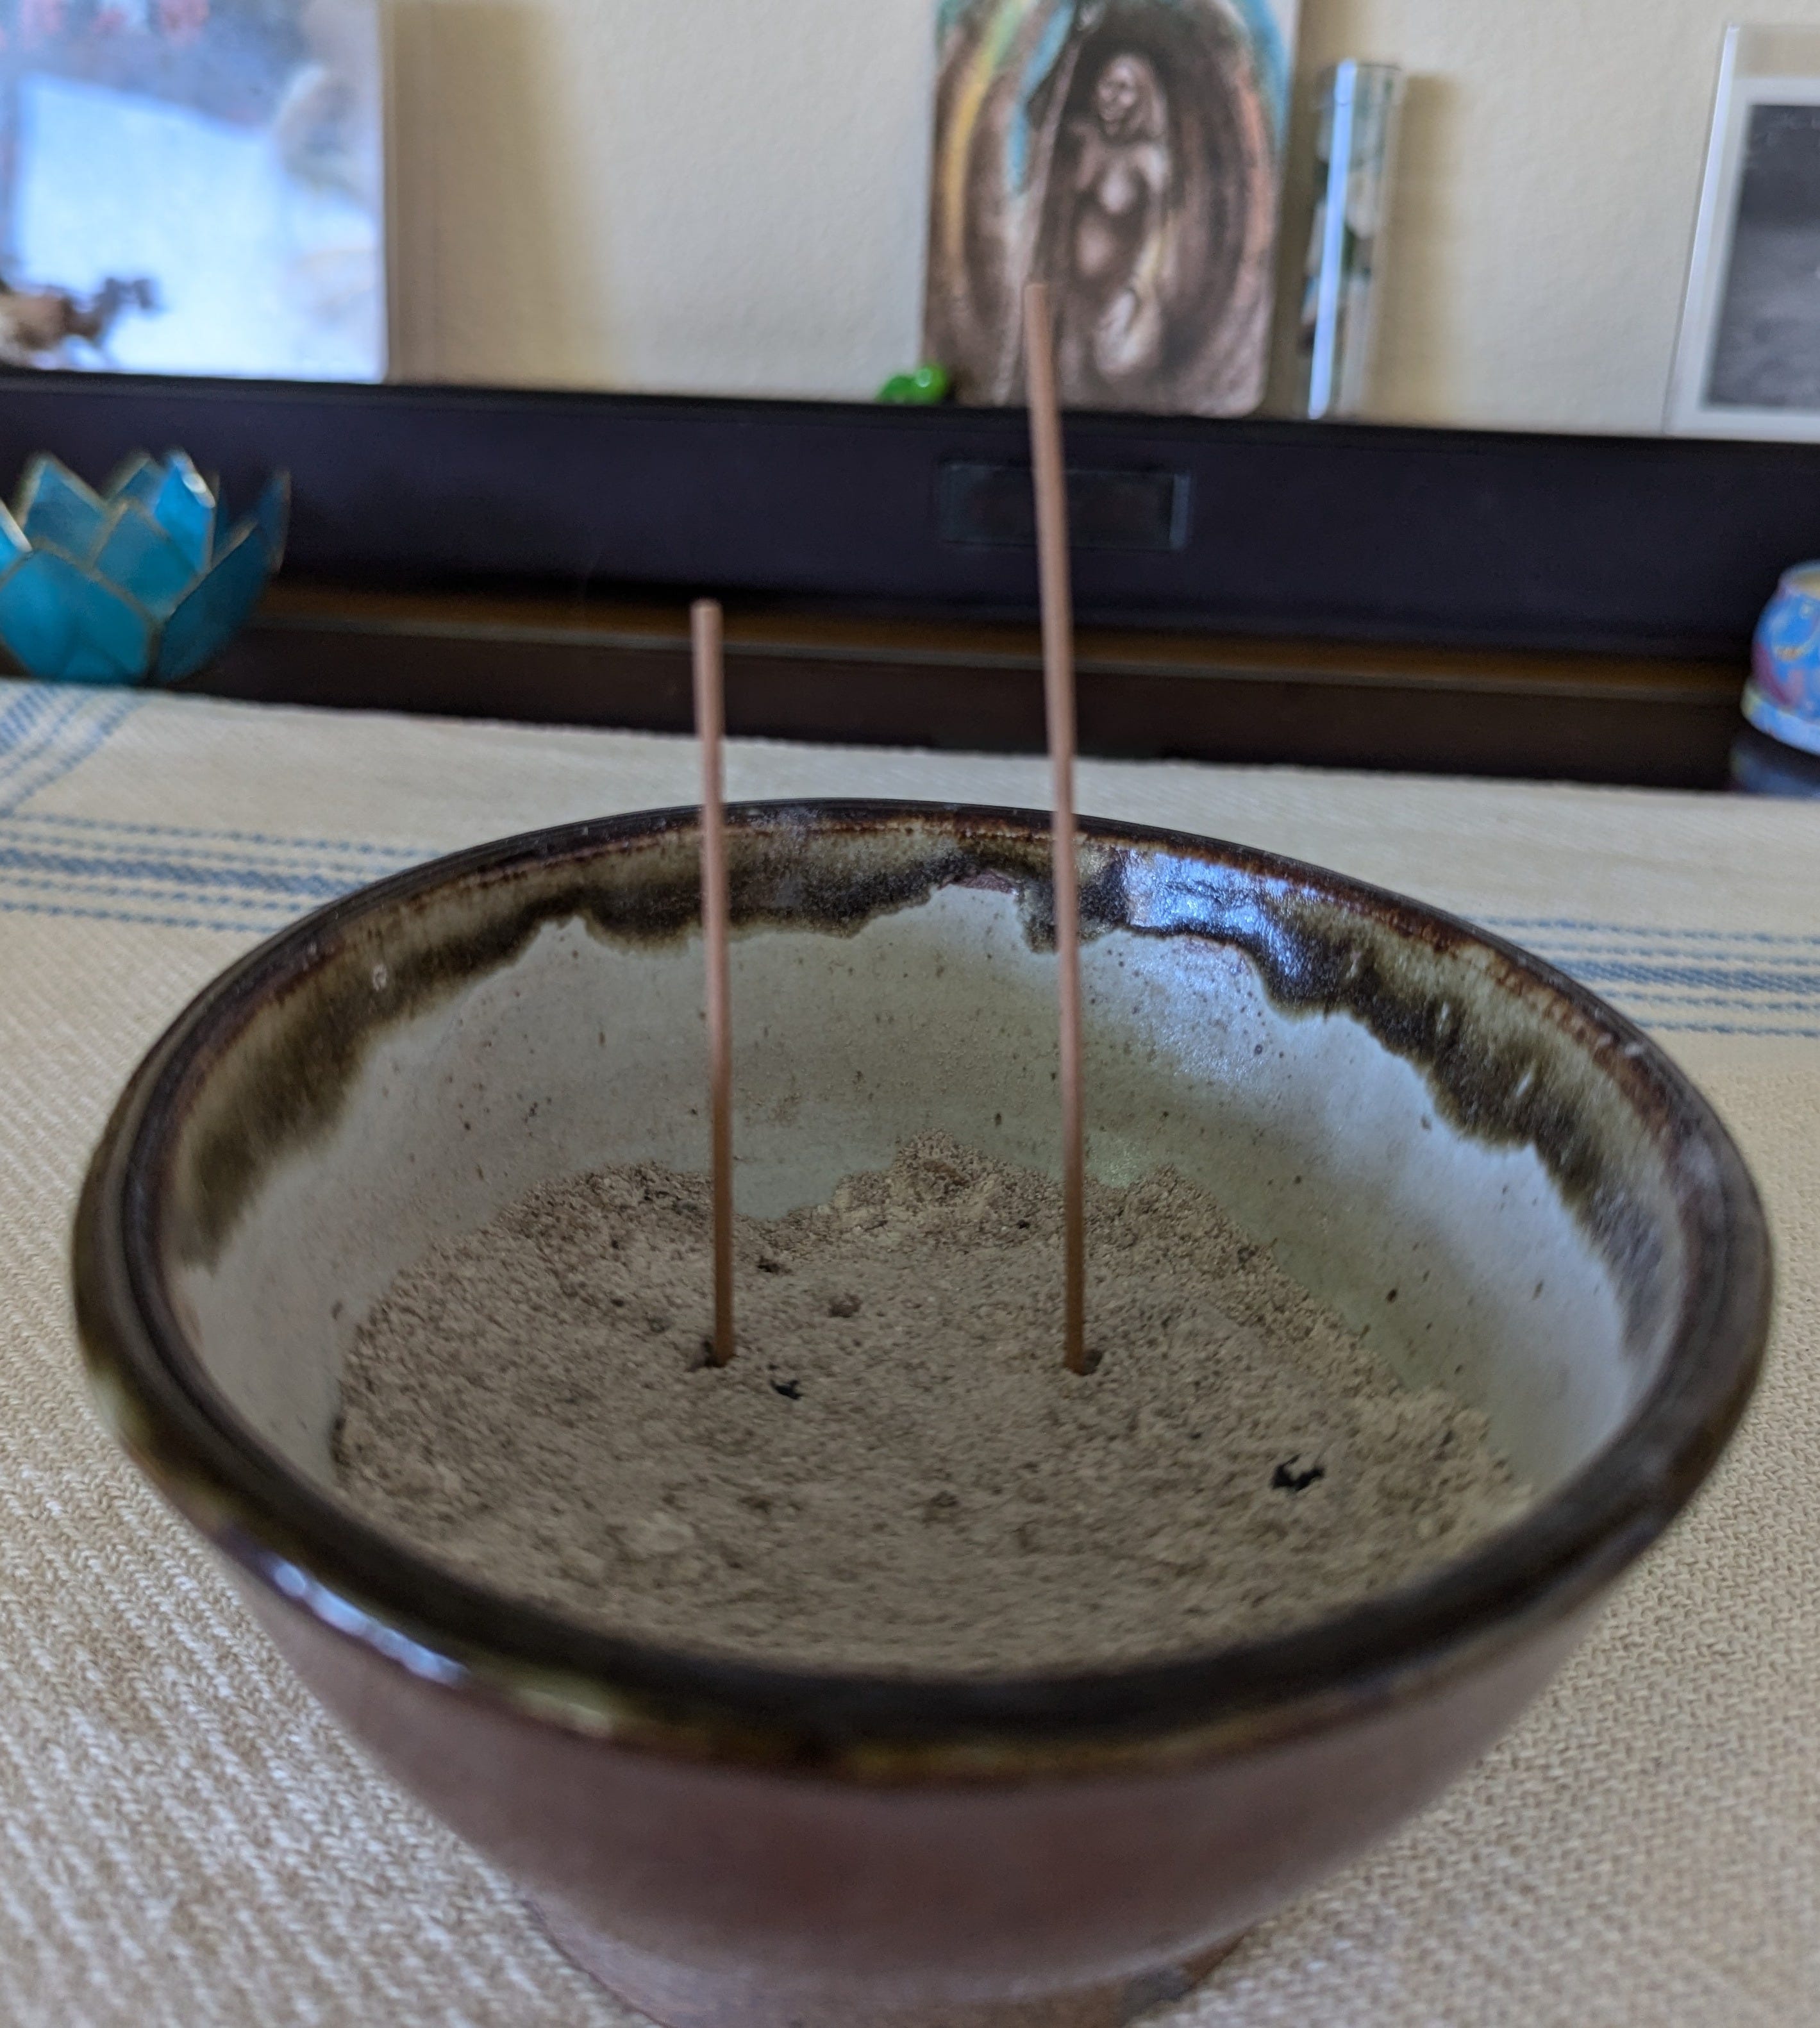
To completely burn your joss sticks and cones, use the ash bed of a bowl censer. Ash makes a perfect, heat-absorbing yet porous medium in which to burn self-combusting incense or coals, which you can place directly on the ash bed instead of using a grill. Burning incense begets more ash, making it easier to burn even more incense! Ideally, you’ll want to fill your censer 3/4ths of the way full with ash to burn joss sticks, cones, or coals. If you’re an incense junkie like me, you will burn so much incense that you’ll have to discard excess ash from time to time. I give my extra ash to our garden plants.
To burn an incense cone in your prepared censer, get out your tongs, candle, and lighter. Light the candle, then hold one end of the cone in the flame with the tongs until it starts to burn on its own. Carefully place the non-burning end of the cone in the ash bed. If the cone’s cap of flame won’t burn out on its own in a few seconds, very gently blow it out. You want the cone to smolder, not burn, as this releases more aroma. Once it’s burned to ash, mix it in with the rest of the ash with your poker.
You can start burning cones at the smaller pointy end, but I prefer lighting the fatter end and placing the cone in the ash like a golf tee. This way, the cone is more likely to burn without having to relight it, as my apprentice cones don’t always burn consistently, alas. To burn joss sticks, insert a stick straight into the ash and light the other end with a lighter. Lightly blow the flame out if it doesn’t go out and smolder on its own after a few seconds. Any joss stick less than 4-5 inches long will burn well this way. Josses longer than 5 inches risk being too long for your ash bed to hold up straight. I usually break longer josses in half.
The Incense in your Intro Kit
For those out there who received a gift kit from me for Christmas, see below for a description of the incenses and their ingredients. May you enjoy this gift made with love. May incense bring you the same joy and peace it brings to me. Happy holidays!
Pom: A Guatemalan-style incense made from white copal, red cedar, tonka bean, vanilla bean, and gum arabic. Break off small pieces of this incense onto a burning coal. This incense is either loose chunks or shaped like a small cake. Don’t burn a whole cake at once unless you really love lots of smoke!
Bakhoor: A tropical take on a Middle Eastern style of incense, this bakhoor is made of sandalwood, frankincense, guggul, pohinahina, orange peel, rooibois leaf, perfume, and rosewater sugar syrup. A pinkie-tip-sized pinch on a coal is a good place to start. Alternately, you can put it in a cloth bag and throw it in your sock drawer as a sachet.
Combustible Incense Cones
Enjoy an incense cone variety pack of four different blends. Green Tara is is my own blend, while the other 3 are from recipes by Carl Neal. I didn’t include a key to which is which, so you’ll have to burn them and let your nose be your guide! Happy guessing!
Green Tara: Laha, Himalayan cedar, vetiver, green cardamom, pohinahina, and camphor.
Yule: Red cedar, clove, frankincense, myrrh, cinnamon, white wine, and xanthan gum
Frankincense & Myrrh: Sandalwood, frankincense, myrrh, white wine, xanthan gum
Yule Log: White cedar, juniper tips and berries, gum tragacanth